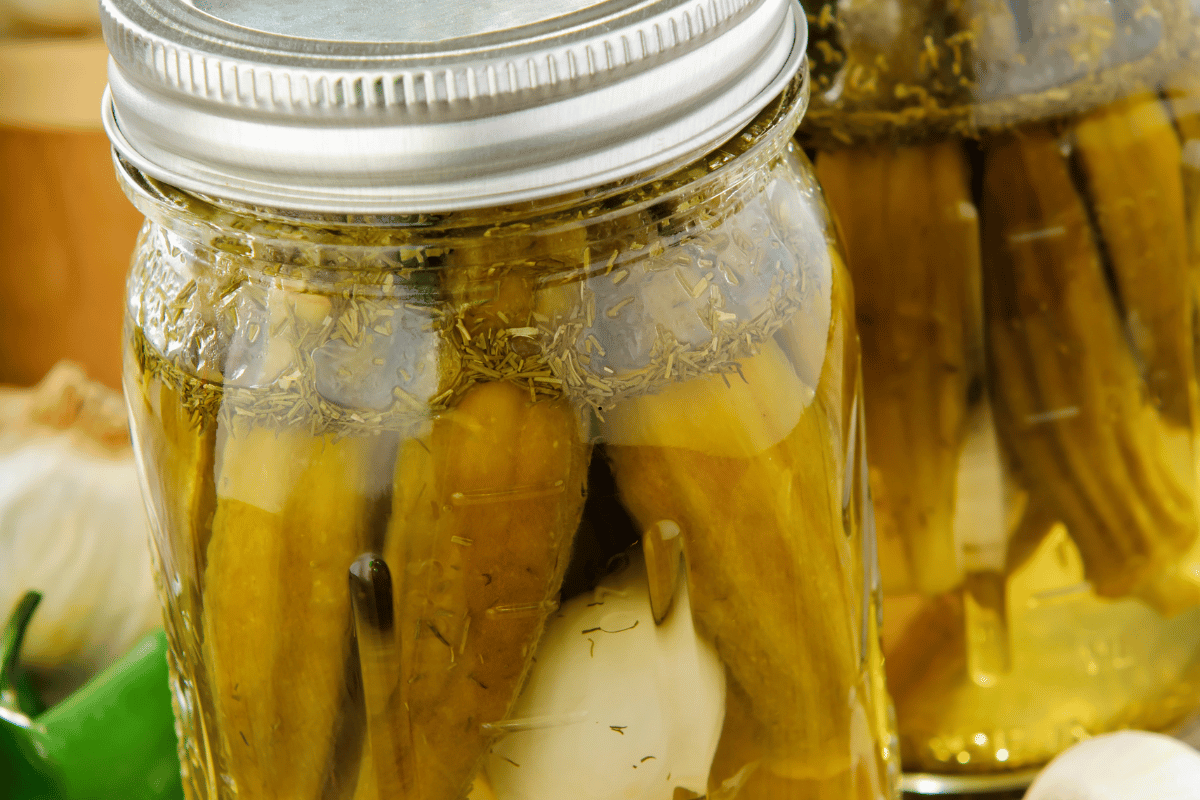
Garlic Dill Pickled Okra Recipe is proof that okra can be transformed into something completely different. There are certain foods that completely change depending on how they’re prepared, and okra is one of them.
Mention okra in a conversation and you’ll usually get one of two reactions. Some people absolutely love it. Others immediately think of the slippery texture and politely decline. I used to believe there wasn’t much room between those two opinions until I discovered pickled okra.
It happened by accident during a weekend visit to a local farmers’ market. Among jars of homemade jam and fresh honey sat a small display of pickled vegetables. Cucumbers, carrots, green beans… and a jar of bright green okra. Curiosity won.
The first bite wasn’t what I expected. There was no sliminess at all. Instead, the okra snapped cleanly with every bite. The garlic was bold without overpowering the fresh dill, and the vinegar added just enough tang to keep reaching for another piece. I bought two jars that day and finished both within a week.
That experience sent me into my own kitchen determined to recreate that same satisfying crunch.
After several batches, I realised that making great pickled okra isn’t about complicated ingredients. It’s about choosing young, tender pods, balancing the brine properly, and resisting the temptation to open the jar too early. The waiting is honestly the hardest part.
Now I keep a jar in the refrigerator almost all the time. It has become my favourite unexpected snack, especially on warm afternoons when I want something salty without reaching for crisps. It’s also one of those little additions that instantly makes a cheese board, barbecue platter or sandwich feel more interesting.
If you’ve only ever cooked okra in soups or stews, this recipe might completely change the way you think about it.
Why This Recipe Works
Not every jar of pickled okra turns out the same. Some batches stay beautifully crisp, while others become soft or lose their fresh flavour after just a few days. The difference usually comes down to a handful of small details rather than expensive ingredients.
This recipe relies on young, tender okra because smaller pods naturally hold their shape better during pickling. Fresh garlic adds bold flavour without overpowering the vegetables, while dill brings a light, herbaceous taste that complements the vinegar instead of competing with it.
The brine is carefully balanced to create a clean, tangy flavour that isn’t overwhelmingly sour. As the jars rest in the refrigerator, the garlic, dill and spices slowly infuse every pod, creating a deeper flavour each day.
Perhaps the biggest reason this recipe works so well is patience. It’s tempting to open the jar the next morning, but allowing the okra enough time to absorb the brine makes all the difference. After a few days, every bite becomes crisp, garlicky and packed with flavour.
Whether you’re making pickled vegetables for the first time or you’ve filled dozens of jars over the years, this recipe keeps things simple while delivering reliable results.
One of the reasons I love making garlic dill pickled okra is that it stays crisp while developing even more flavour after a few days in the refrigerator.
Before You Start
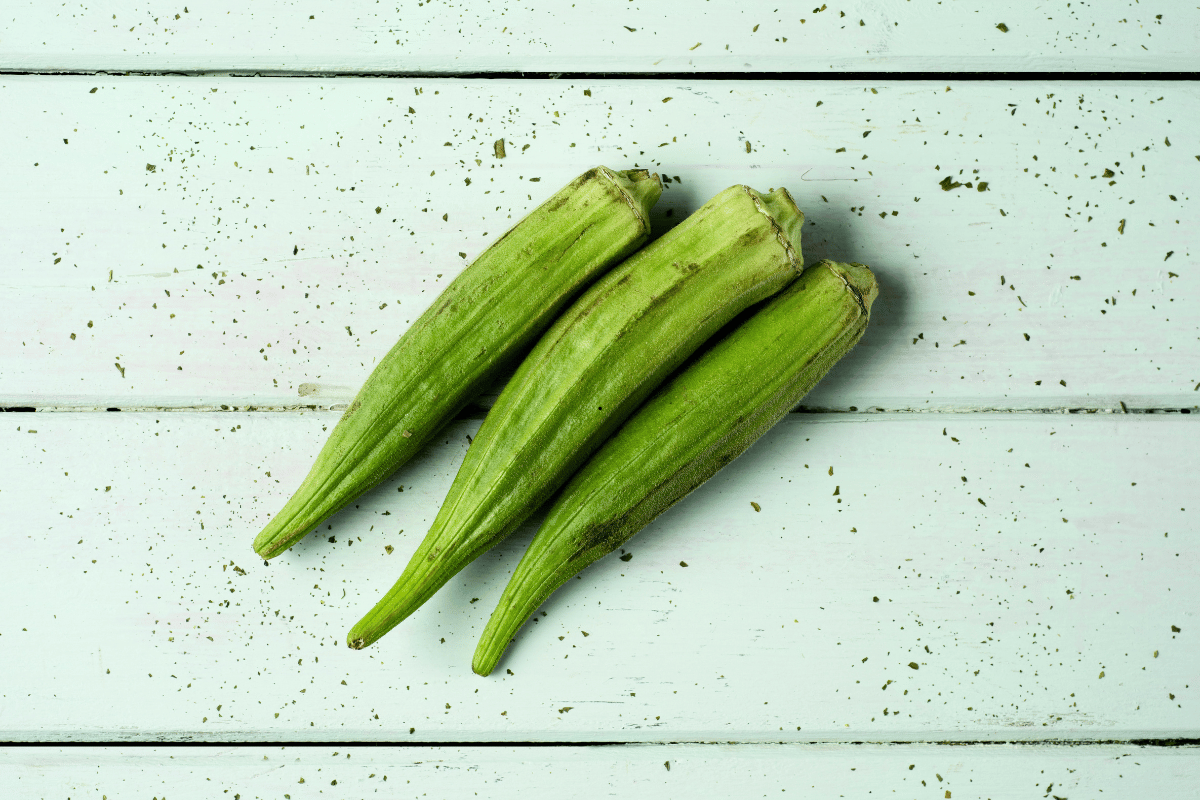
Before you wash the okra or prepare the brine, take a few minutes to choose the right ingredients. It might seem like a small step, but it’s one of the easiest ways to improve the final result.
Look for okra that’s bright green, firm and no longer than about four inches. Smaller pods are naturally more tender and stay crisp after pickling. If the pods feel soft or have brown spots, it’s best to leave them behind.
Fresh dill is worth using if you can find it. While dried dill will work in a pinch, fresh sprigs give the pickles a cleaner, brighter flavour that develops beautifully over time.
Your jars should be thoroughly cleaned before you begin. Even though these are refrigerator pickles, starting with clean jars helps keep the pickles fresh and extends their shelf life.
Finally, remember that great pickled okra isn’t an instant recipe. The flavours continue to develop over several days, so giving the jars enough time to rest is just as important as preparing the brine correctly. Waiting can be difficult, but it’s rewarded with a much better jar of pickles.
Three Mistakes That Make Pickled Okra Soft
I’ve made enough batches of pickled okra to know that not every jar turns out perfectly. In fact, some of my earliest attempts taught me more than my successful ones ever did.
Choosing Older, Larger Okra
It can be tempting to buy the biggest pods because they look impressive, but bigger doesn’t mean better. Mature okra is often tougher, contains more fibre and loses its firmness much more quickly during pickling. Small, tender pods almost always deliver a better crunch.
Cutting Too Much Off the Stem
At first, I thought trimming the stems neatly would make the jars look nicer. Instead, I accidentally sliced into several pods. The result? Those pieces absorbed too much brine and became noticeably softer than the rest. Now I trim only the rough tip of the stem without exposing the inside of the okra.
Expecting Instant Results
This isn’t exactly a mistake that makes the okra physically soft, but it often leads to disappointment. Freshly prepared pickled okra hasn’t had enough time to absorb the garlic, dill and spices. Many people taste it too soon, assume something is wrong, and begin changing the recipe. The truth is that the flavour and texture improve together after several days in the refrigerator. Sometimes the best thing you can do is simply leave the jar alone.
Delicious Ways to Eat Garlic Dill Pickled Okra
One of the reasons I almost always have a jar in my refrigerator is because it’s far more versatile than most people expect.
Of course, you can eat it straight from the jar, and I’ll admit that’s exactly what happens in my kitchen more often than I’d like to admit. There’s something incredibly satisfying about reaching in for a crisp, garlicky pod when you’re craving a savoury snack.
But that’s only the beginning.
Pickled okra adds a bright, tangy contrast to rich barbecue dishes. Serve it alongside smoked chicken, grilled ribs or burgers, and it helps balance every bite without overpowering the meal.
It also makes a delicious side for my easy chicken and vegetable stir-fry recipe when you want to add a crisp, tangy bite to dinner.
I also love slicing a few pods into potato salad, pasta salad or tuna salad. Instead of relying entirely on pickles or relish for acidity, chopped pickled okra adds both crunch and a subtle garlic flavour that surprises people in the best way.
If you’re putting together a cheese board, don’t overlook it. Arrange the okra beside sharp cheddar, creamy goat cheese, cured meats, olives and crackers. It adds colour, texture and a refreshing bite that keeps the platter from feeling too heavy.
On busy weekdays, I sometimes tuck a few pods beside a turkey or roast beef sandwich instead of reaching for crisps. It’s a small change, but one that makes lunch feel fresher and more satisfying.
If you’re serving sandwiches, they taste even better with easy homemade bread recipes for beginners that you can bake right in your own kitchen.
And if you’re hosting friends, try serving pickled okra as part of an appetiser platter. Most guests have never tried it before, which makes it an instant conversation starter.
Storage Tips
One of the best things about refrigerator pickles is that they become more flavourful with time. Unlike many fresh vegetables that begin losing their appeal after a few days, garlic dill pickled okra continues to develop as it rests in the brine.
Keep the jars refrigerated at all times, making sure the okra remains fully submerged beneath the liquid. Any pods sitting above the brine won’t pickle evenly and may spoil more quickly.
Always use a clean fork or pair of tongs when removing okra from the jar. It might seem like a small habit, but introducing crumbs or food particles can shorten the freshness of your pickles.
For more information on safe pickling and food preservation, refer to the USDA Complete Guide to Home Canning.
You’ll probably notice the garlic becoming milder after the first week, while the dill and spices become more pronounced. This gradual change is completely normal and one of the reasons homemade pickles often taste better several days after they’re made.
For the best flavour and texture, enjoy your refrigerator pickled okra within one to two months. While it may remain safe for longer if stored properly, the crispness is at its peak during the first few weeks.
One final tip from experience: if you think one jar will be enough, make two. Homemade garlic dill pickled okra has a habit of disappearing much faster than expected, especially once family members discover how good it is.
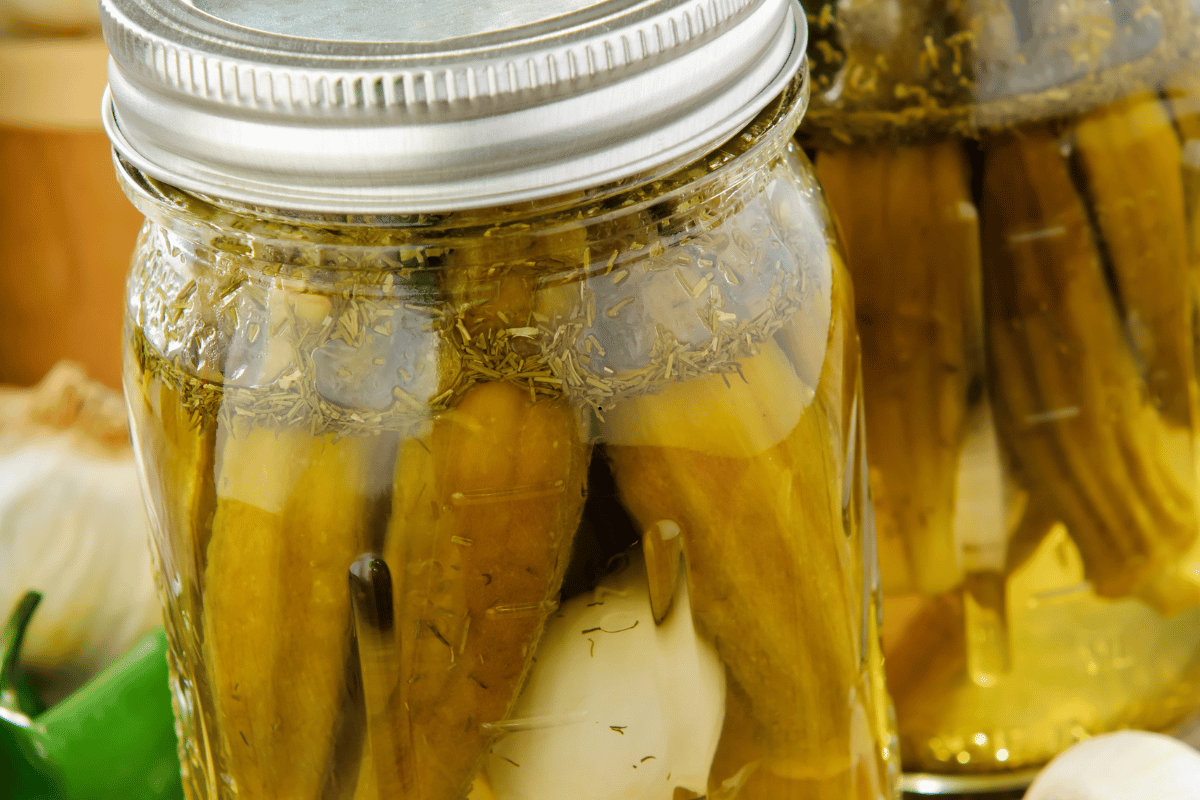

Garlic Dill Pickled Okra Recipe
Ingredients
Equipment
Method
- Wash the okra thoroughly and trim only the tough ends of the stems without cutting into the pods.
- Wash two clean pint-sized jars and their lids with hot, soapy water. Rinse well and allow them to dry.
- Divide the garlic cloves, fresh dill, mustard seeds, black peppercorns, and optional spices evenly between the jars.
- Stand the okra upright inside each jar, packing the pods snugly while leaving about ½ inch of space at the top.
- In a saucepan, combine the vinegar, water, and pickling salt. Bring the mixture to a gentle boil, stirring until the salt dissolves completely.
- Carefully pour the hot brine over the okra, making sure every pod is fully covered.
- Remove any trapped air bubbles by gently running a clean utensil around the inside of each jar.
- Seal the jars with their lids and allow them to cool to room temperature.
- Refrigerate the jars for at least 3 days before opening. For the fullest flavor, wait 5 to 7 days before serving.
Notes
Storage
Store the jars in the refrigerator and always use a clean fork or tongs when removing the okra. For the best flavor and texture, enjoy within 1 to 2 months.A Jar That’s Worth Making Again and Again
Some recipes are exciting the first time you make them but rarely find their way back into your kitchen. This isn’t one of those recipes.
Garlic dill pickled okra has a way of becoming a quiet favourite.
f you enjoy simple homemade recipes like this, you’ll also love these easy family meals you can make in 30 minutes or less for busy weeknights
You’ll make a jar for the first time out of curiosity, then find yourself reaching for it with sandwiches, grilled meats, salads, or simply as a quick snack straight from the refrigerator.
Before long, making another batch becomes part of your routine whenever fresh okra is in season.
What I love most is that this recipe proves how a simple ingredient can become something completely different with just a handful of pantry staples and a little patience.
It’s crisp, flavourful, and a wonderful reminder that homemade food often tastes better because of the care that goes into making it.
If this recipe inspires you to give okra another chance, or to try pickling vegetables for the very first time, I hope it earns a permanent place in your kitchen, just as it has in mine.
If you enjoyed this recipe, save it so you can make it again during okra season. And if you do make it, I’d love to know how you served it.
Did you keep it classic with garlic and dill, or did you add your own twist? Share your experience in the comments below, and don’t forget to explore more homemade recipes here on the blog for your next kitchen adventure.
For a quick and satisfying breakfast, be sure to try my easy vegetable omelet with toast, another simple recipe made with everyday ingredients.
Amity Nwoye is the creator of amybenblog, where she shares easy recipes, practical cooking tips, meal planning ideas, and money-saving kitchen hacks. She is passionate about helping home cooks prepare delicious meals with confidence, whether they’re beginners or experienced in the kitchen. Through simple, family-friendly advice, Amity makes cooking more enjoyable, affordable, and stress-free.