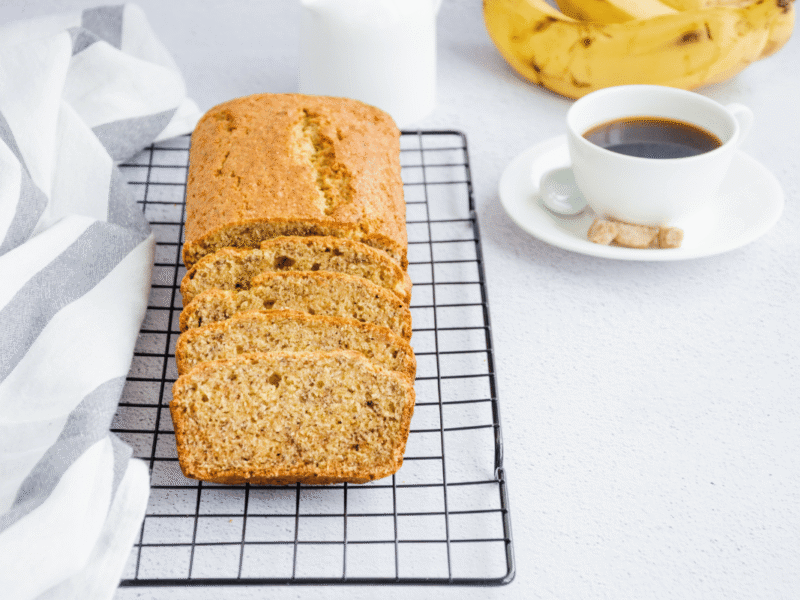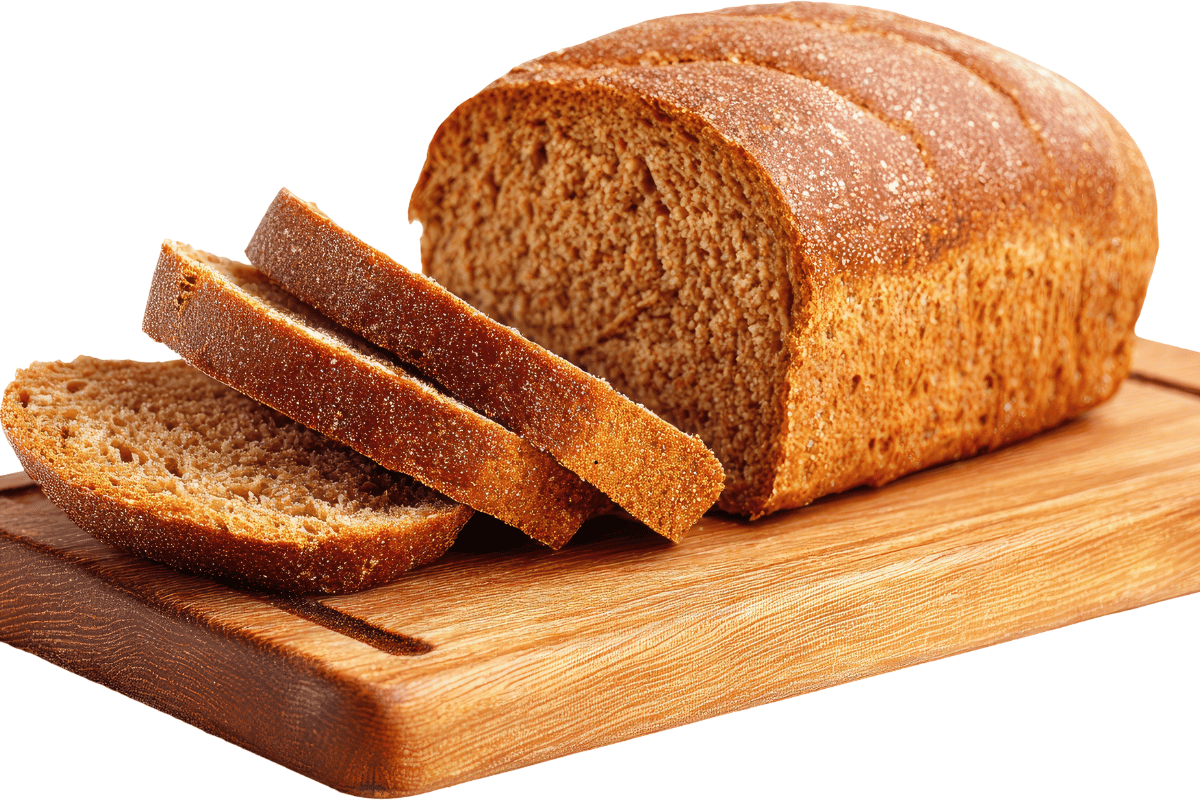
Have you ever thought about baking your own bread but worried it would be too difficult? If so, these easy homemade bread recipes for beginners are the perfect place to start. With a few simple ingredients, basic kitchen tools, and a little patience, you can bake a soft, golden loaf that’s fresh, delicious, and far more satisfying than store-bought bread.
Not long ago, I found myself in exactly that situation. It was a quiet weekend, and I had run out of bread. Driving to the grocery store for a single loaf didn’t seem worth the trip, so I checked my pantry instead. Sitting on the shelf were a bag of flour, a packet of yeast tucked away in the back, and the other basic ingredients I needed.
Although I expected my first attempt to be a complete disaster, curiosity convinced me to give it a try.
To my surprise, the loaf turned out far better than I imagined. It wasn’t bakery-perfect, but the warm, golden crust and soft interior made every bite worth the effort. More importantly, the comforting aroma filling my kitchen made the experience unforgettable.
If you’ve always believed bread baking was complicated, you’re certainly not alone. Many beginners worry about working with yeast, kneading dough, or getting the perfect rise. Fortunately, making homemade bread is much easier than it looks.
Once you understand a few simple techniques, baking bread becomes one of the most enjoyable kitchen skills you can learn.
Why You’ll Love These Easy Homemade Bread Recipes
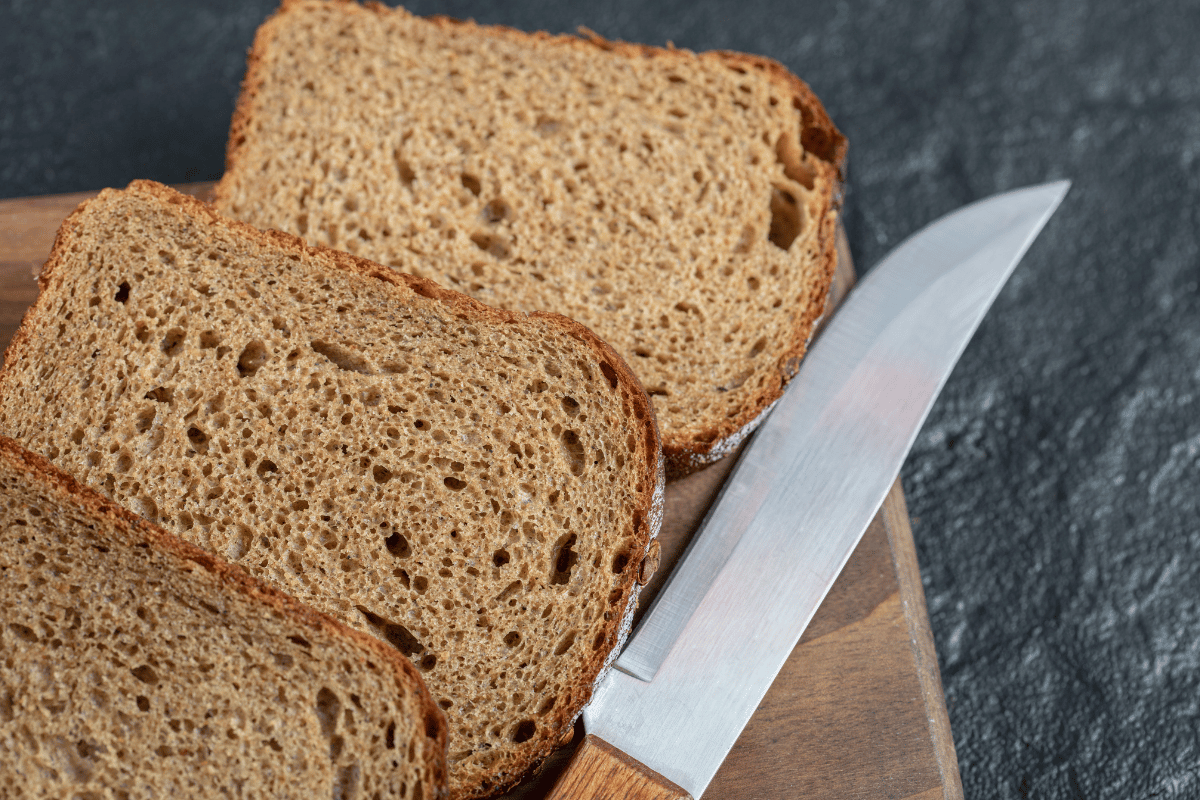
There are plenty of reasons homemade bread has remained a favorite for generations.
Besides filling your kitchen with an irresistible aroma, baking your own bread gives you complete control over every ingredient. That means you can avoid unnecessary preservatives and additives that are often found in store-bought loaves.
Another reason beginners love this recipe is its simplicity.
You don’t need expensive equipment or years of baking experience to make delicious homemade bread. Instead, a handful of pantry staples and a little patience are all it takes to create a loaf that’s soft on the inside, beautifully golden on the outside, and perfect for everyday meals.
Homemade bread is also incredibly versatile.
Enjoy it as:
- Warm breakfast toast
- Sandwich bread for lunch
- Garlic bread with dinner
- A side for soups and stews
- A snack with butter and jam
As your confidence grows, you can also experiment with herbs, cheese, seeds, or whole grains to create unique flavors your family will love.
Perhaps the most rewarding part is the sense of accomplishment that comes from baking bread with your own hands.
Watching the dough rise, seeing it turn beautifully golden in the oven, and sharing warm slices with family creates memories that go far beyond preparing a simple meal.
If you’re new to baking, you may also enjoy my Soft and Fluffy Cinnamon Rolls, another beginner-friendly recipe that’s easy to follow and perfect for building your baking confidence.
What Makes This Bread Perfect for Beginners?
Learning to bake bread can feel intimidating at first.
Words like proofing, kneading, and gluten development often make the process sound far more complicated than it really is.
Thankfully, once you understand the purpose behind each step, bread baking becomes much easier.
One of the biggest advantages of this recipe is its simplicity.
Instead of using advanced baking techniques, it relies on easy methods that anyone can follow. You won’t need to shape artisan loaves or invest in specialized equipment.
In fact, most of the tools you’ll need are probably already sitting in your kitchen.
Even if your first loaf isn’t perfectly shaped, it will still taste amazing—and that’s what truly matters.
Another reason this recipe is beginner-friendly is its flexibility.
Many first-time bakers worry that one small mistake will ruin the entire loaf.
Fortunately, bread dough is surprisingly forgiving.
If the dough feels a little sticky, you can adjust it.
If your kitchen is cooler than expected, the dough may simply need extra time to rise.
Every loaf teaches you something new, and each baking session builds your confidence.
Equally important, remember that bread baking isn’t a race.
One of the most common beginner mistakes is rushing the rising process.
While the dough rests, the yeast creates tiny air pockets that give the bread its light, fluffy texture.
Giving the dough enough time almost always results in a softer loaf with better flavor.
Experienced bakers will often tell you that their first loaf wasn’t perfect either.
That’s completely normal.
Like any cooking skill, bread making improves with practice.
Over time, you’ll naturally learn how the dough should feel, when it has risen enough, and how your own oven bakes.
Before long, these steps will become second nature.
Most importantly, don’t aim for perfection.
A slightly rustic loaf with an uneven shape often has more character than one that looks factory-made.
Fresh, homemade bread made with care will always be more rewarding than chasing perfection.
If you’ve been putting off bread baking because it seemed too difficult, let this recipe be the one that changes your mind.
After all, every experienced baker started exactly where you are now—with curiosity, simple ingredients, and the willingness to learn.
Kitchen Tools You’ll Need
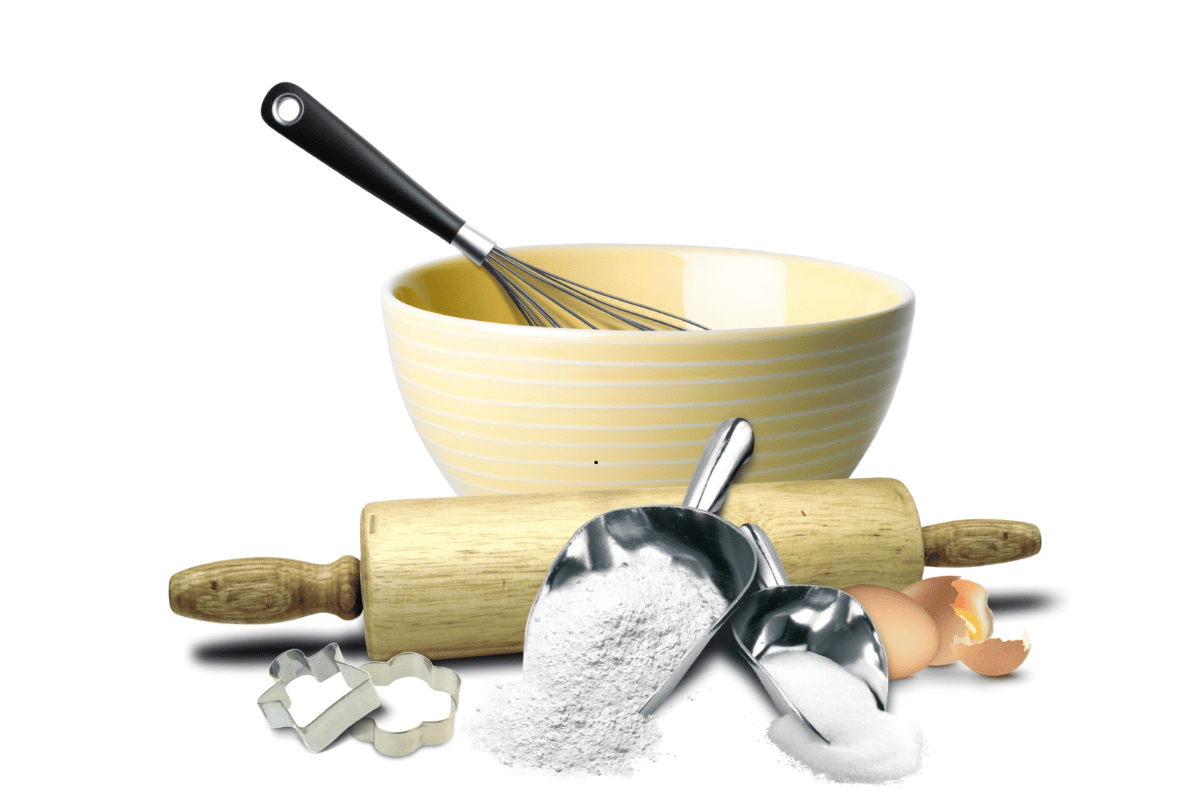
One of the biggest myths about baking bread is that you need expensive equipment before you can get started.
Watching professional bakers use stand mixers, proofing baskets, and baking stones can make the process seem intimidating.
Fortunately, that’s far from the truth.
Thousands of home bakers make beautiful homemade bread every week using nothing more than a few basic kitchen tools.
If you’re just beginning your bread-baking journey, don’t feel pressured to buy special equipment.
Instead, focus on learning the process first.
As your confidence grows, you can always invest in additional tools later.
For now, these essentials are all you need.
Large Mixing Bowl
Every loaf starts with a good mixing bowl.
Choose one that’s large enough to combine all your ingredients comfortably while giving the dough room to rise.
Glass, stainless steel, and sturdy plastic bowls all work well.
Because bread dough expands significantly, selecting a larger bowl helps prevent spills during the first rise.
Measuring Cups and Measuring Spoons
Unlike many cooking recipes, bread baking depends on accurate measurements.
Using proper measuring cups and spoons ensures consistent results every time you bake.
Small differences in ingredient amounts can noticeably affect the texture of your finished loaf.
Wooden Spoon or Silicone Spatula
Before kneading begins, you’ll need a sturdy spoon or spatula to combine the ingredients.
At first, the dough will look rough and shaggy.
Don’t worry—that’s completely normal.
As you knead, the dough gradually becomes smoother and more elastic.
Clean Work Surface
Once the dough comes together, transfer it to a clean countertop or a large cutting board for kneading.
Lightly dust the surface with flour to prevent sticking.
However, avoid adding too much flour.
Using excessive flour can make the finished bread dry and dense instead of soft and fluffy.
Loaf Pan
For beginners, a loaf pan is one of the easiest ways to bake evenly shaped bread.
It creates uniform slices that are perfect for sandwiches, toast, or serving alongside soups and stews.
Don’t have a loaf pan?
No problem.
Simply shape the dough into a round or oval loaf and bake it on a parchment-lined baking sheet instead.
Kitchen Towel or Plastic Wrap
After kneading, the dough needs time to rise.
Cover the bowl with a clean kitchen towel or lightly greased plastic wrap to prevent the surface from drying out.
Creating a warm, covered environment helps the yeast work efficiently and encourages an even rise.
Cooling Rack
Once your bread comes out of the oven, transfer it to a cooling rack as soon as possible.
Allowing air to circulate around the loaf prevents the bottom from becoming soggy.
Although it’s tempting to slice into warm bread immediately, letting it cool first makes slicing easier and helps preserve its soft texture.
Don’t Worry About Fancy Equipment
The best part about homemade bread is its simplicity.
You probably already own most of these kitchen tools, which means you can start baking today without buying expensive equipment.
Remember, delicious homemade bread isn’t created by fancy gadgets.
It’s made with simple ingredients, a little patience, and the confidence to try something new.
Tips Before You Start Baking
A successful loaf of homemade bread begins long before the dough goes into the oven. While the recipe itself is simple, paying attention to a few small details can make a big difference in the final result.
These beginner-friendly tips will help you avoid common mistakes, build confidence, and enjoy the bread-baking process from start to finish.

Homemade Bread Recipe (Beginner-Friendly)
Ingredients
Method
- Step 1: Activate the Yeast
- Pour the warm water into a large mixing bowl.
- Add the sugar and sprinkle the yeast over the water.
- Stir gently and let it sit for 5–10 minutes until the mixture becomes foamy.
- Tip: If the yeast doesn't foam, it's no longer active. Start again with fresh yeast before continuing.
- Step 2: Mix the Dough
- Add the melted butter and salt to the yeast mixture.
- Gradually add the flour, one cup at a time, stirring with a wooden spoon or silicone spatula until a shaggy dough forms.
- When the dough becomes difficult to stir, use your hands to bring everything together.
- Step 3: Knead the Dough
- Transfer the dough to a lightly floured work surface.
- Knead for 8–10 minutes, folding and pressing the dough until it becomes smooth, soft, and elastic.
- If the dough sticks slightly, lightly flour your hands instead of adding too much extra flour.
- Step 4: First Rise
- Lightly grease a clean bowl with olive oil.
- Place the dough inside and turn it once so it's lightly coated.
- Cover with a clean kitchen towel or plastic wrap.
- Let the dough rise in a warm place for 60–90 minutes, or until it has doubled in size.
- Step 5: Shape the Loaf
- Gently press down the risen dough to release excess air.
- Transfer it to a lightly floured surface and shape it into a loaf.
- Place the dough into a lightly greased 9×5-inch loaf pan.
- If you prefer a rustic loaf, shape it into a round and place it on a parchment-lined baking tray.
- Step 6: Second Rise
- Cover the shaped dough loosely with a kitchen towel.
- Allow it to rise again for 30–40 minutes, or until it has puffed up noticeably.
- Meanwhile, preheat your oven to 375°F (190°C).
- Step 7: Bake
- Bake for 30–35 minutes, or until the loaf is golden brown.
- To check for doneness, carefully remove the loaf from the pan and tap the bottom.
- If it sounds hollow, the bread is fully baked.
- If needed, return it to the oven for another 3–5 minutes.
- Step 8: Cool Before Slicing
- Transfer the bread to a wire rack immediately after baking.
- Allow it to cool for at least 20–30 minutes before slicing.
- Although it's tempting to cut into warm bread right away, cooling helps the crumb finish setting, making the slices easier to cut and giving the loaf a better texture.
Notes
Recipe Notes
- Measure the flour accurately for the best results.
- Use warm—not hot—water to activate the yeast.
- Avoid adding too much flour while kneading.
- Rising time may be longer if your kitchen is cool.
- Brush the top with melted butter after baking for a softer crust.
Storage
Store the bread in an airtight container or bread bag at room temperature for up to 3 days. For longer storage, wrap the loaf tightly and freeze it for up to 3 months. To serve, thaw at room temperature and warm in the oven for a freshly baked taste.Recipe Variations
- Add grated cheddar or Parmesan cheese.
- Mix in rosemary, thyme, or Italian herbs.
- Sprinkle sesame or sunflower seeds on top before baking.
- Replace up to half of the all-purpose flour with whole wheat flour.
- Add cinnamon and raisins for a lightly sweet loaf.
Read the Recipe from Start to Finish
Before measuring your ingredients, take a few minutes to read the entire recipe.
Doing this helps you understand each step, prepare your ingredients in advance, and avoid surprises along the way.
You’ll know:
- When the dough needs to rise
- How long the bread should bake
- Which tools you’ll need
- What to expect during each stage
As a result, the entire process feels much smoother, especially if it’s your first time baking bread.
Check That Your Yeast Is Fresh
Yeast is what gives homemade bread its light, soft texture.
If it’s old or expired, the dough may not rise properly, no matter how carefully you follow the recipe.
Before you begin, check the expiration date on the packet.
If you’re unsure whether it’s still active, mix the yeast with warm water and a small amount of sugar. Within a few minutes, it should become bubbly and slightly foamy.
If that doesn’t happen, it’s best to use a fresh packet.
Pay Attention to Water Temperature
One lesson I learned early on was that water temperature matters more than I expected.
At first, I assumed hotter water would help the dough rise faster. Instead, it slowed everything down because the heat damaged the yeast.
For the best results, use water that feels comfortably warm rather than hot.
A simple test is to dip your finger into the water. If you can comfortably leave it there for a few seconds, it’s usually the right temperature.
Don’t Rush the Rising Time
Patience is one of the most important ingredients in bread baking.
As the dough rests, the yeast creates tiny air pockets that give the bread its soft, fluffy texture.
If your kitchen is cooler than usual, the dough may need a little longer to rise.
Instead of watching the clock, watch the dough.
Once it has roughly doubled in size, it’s ready for the next step.
Keep Extra Flour to a Minimum
Many beginners reach for more flour as soon as the dough feels sticky.
However, adding too much flour can make the finished loaf dry and dense.
A slightly sticky dough is completely normal.
Rather than pouring in more flour, lightly dust your hands and work surface whenever necessary.
This simple habit helps keep your bread soft and tender.
Treat Every Loaf as a Learning Experience
Don’t expect perfection the first time you bake.
Even experienced bakers occasionally produce loaves that are flatter, darker, or more rustic than planned.
Every loaf teaches you something valuable.
With each attempt, you’ll become more familiar with how the dough should feel, how long it needs to rise, and how your oven performs.
Over time, the entire process will become much more natural.
Most importantly, enjoy the journey.
Bread baking is a skill that improves with practice, and every homemade loaf is another step toward becoming a confident baker.
How to Tell When Your Bread Is Perfectly Baked
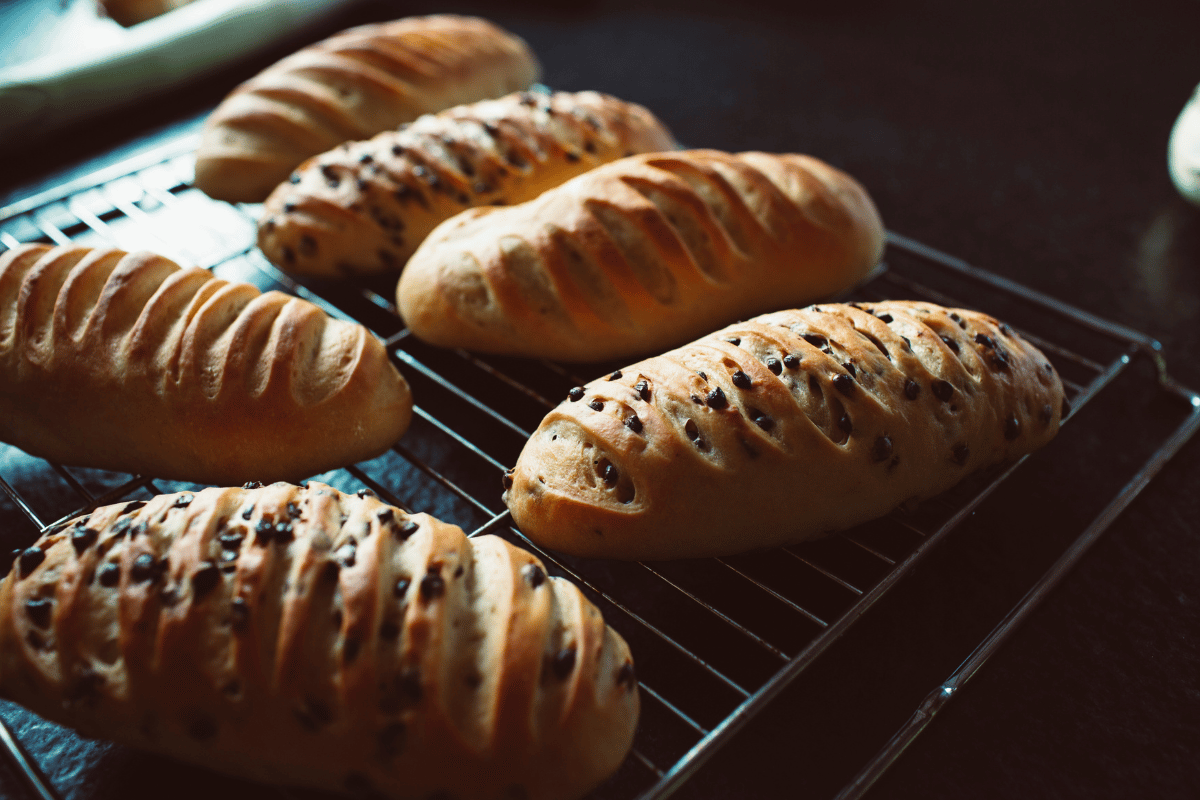
One of the most common questions beginners ask is, “How do I know when my bread is done?”
It’s a good question because removing the loaf too early can leave the center undercooked, while baking it for too long may result in dry bread.
Fortunately, there are several simple ways to tell when your loaf is perfectly baked.
Look for a Golden-Brown Crust
The easiest sign to check is the color.
A well-baked loaf should have a rich, golden-brown crust rather than a pale or doughy appearance.
Keep in mind that every oven bakes differently, so the exact shade may vary slightly.
Instead of aiming for a dark brown crust, look for an even golden color that suggests the bread has baked through without drying out.
Tap the Bottom of the Loaf
This traditional baking method has been used by home bakers for generations.
After removing the bread from the pan, carefully turn it over and gently tap the bottom.
If the loaf produces a hollow sound, it’s usually fully baked.
On the other hand, if it sounds dull or dense, return it to the oven for a few more minutes before checking again.
Check That the Loaf Holds Its Shape
A properly baked loaf should feel firm and hold its shape when gently pressed.
If the bread feels very soft or collapses easily, the center may still need additional baking time.
Giving it just a few more minutes in the oven can make a noticeable difference in the final texture.
Let the Aroma Guide You
One of my favorite moments while baking bread is when the kitchen fills with the warm aroma of freshly baked bread.
Although smell alone isn’t enough to confirm that the loaf is done, it’s often a good indication that the bread is nearing the end of its baking time.
Use this clue alongside the color and texture for the best results.
Be Patient Before Slicing
Fresh bread continues to cook from its own heat even after it’s removed from the oven.
For that reason, avoid slicing into it immediately.
Instead, transfer the loaf to a wire cooling rack and let it cool for several minutes.
Although waiting isn’t easy, especially when the bread smells amazing, it allows the crumb to finish setting.
As a result, your slices will be softer, neater, and much easier to cut.
Trust Your Growing Experience
The more often you bake, the easier it becomes to recognize when your bread is perfectly done.
Before long, you’ll naturally identify the right crust color, notice the hollow sound when tapped, and understand how the finished loaf should feel.
Don’t worry if you’re unsure the first time.
Every loaf helps build your confidence, and each baking session brings you one step closer to becoming a skilled home baker.
Creative Ways to Customize Your Homemade Bread
Once you’ve baked your first successful loaf, you’ll probably start thinking about new flavors to try. That’s one of the best things about homemade bread—it can easily be customized to suit your taste, the season, or the meal you’re serving.
While a classic loaf is always delicious, adding a few simple ingredients can transform it into something completely different.
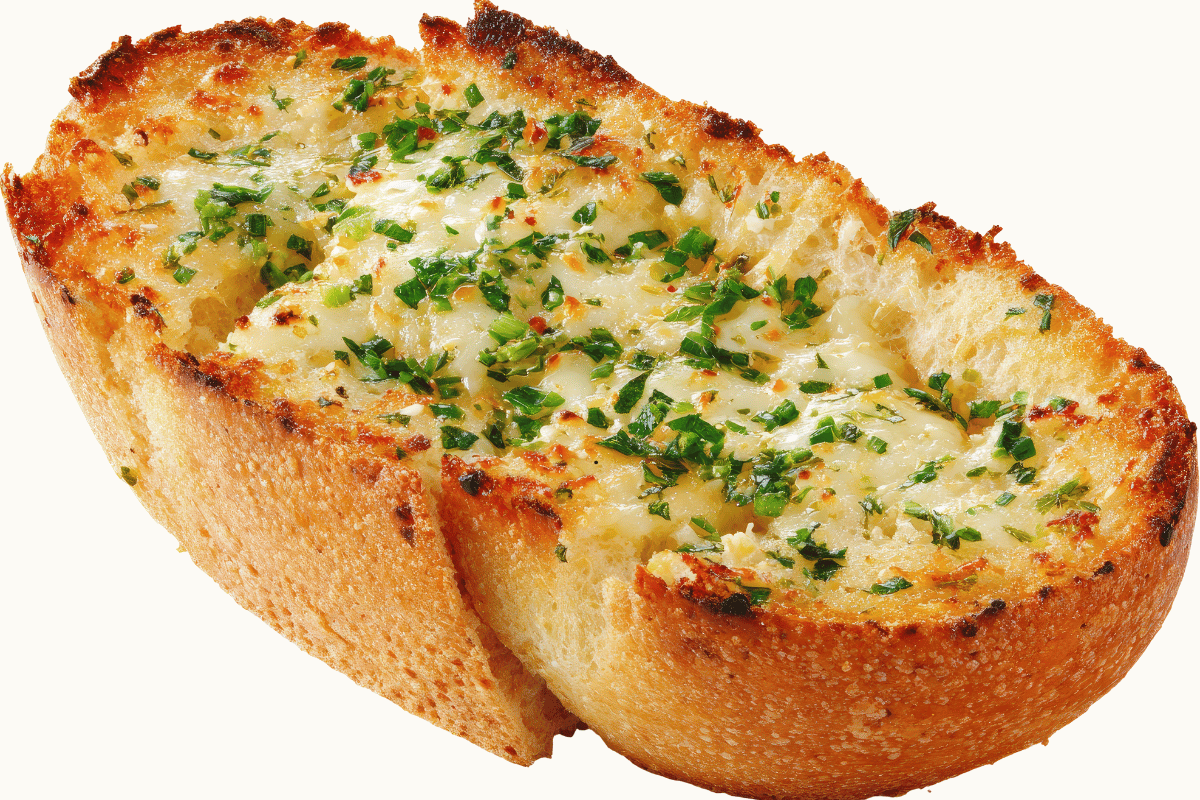
Before experimenting, it’s a good idea to master the basic recipe first. Once you’re comfortable with the dough, you’ll have a better understanding of how it should look and feel before adding extra ingredients.
After you’ve mastered easy homemade bread recipes for beginners, you can experiment with herbs, cheese, and seeds.
Add Fresh or Dried Herbs
Herbs are one of the easiest ways to give homemade bread extra flavor.
Rosemary, thyme, oregano, basil, and parsley are all excellent choices.
Fresh herbs create a bright, aromatic loaf, while dried herbs provide a deeper, more concentrated flavor.
Herb bread pairs especially well with:
- Soups
- Pasta dishes
- Salads
- Grilled chicken
- Roasted vegetables
As a result, it’s a simple way to elevate everyday meals.
Mix in Cheese
If you love cheese, this variation is definitely worth trying.
Simply fold grated cheddar, mozzarella, Parmesan, or another favorite cheese into the dough before the final rise.
During baking, the cheese melts into the loaf, creating rich pockets of savory flavor.
Serve it warm with butter, alongside tomato soup, or as a side for pasta dishes.
Add Seeds for Extra Texture
Seeds can give homemade bread a bakery-style appearance while adding a pleasant crunch.
Popular choices include:
- Sesame seeds
- Sunflower seeds
- Pumpkin seeds
- Flaxseeds
- Chia seeds
Mix them into the dough or sprinkle them over the top before baking.
Besides improving texture, seeds also make the loaf look more rustic and inviting.
Make a Sweet Bread
Not every loaf needs to be savory.
For a breakfast or afternoon treat, try adding:
- Ground cinnamon
- Raisins
- Dried cranberries
- Chopped dates
These ingredients create a lightly sweet loaf that’s perfect with butter, cream cheese, or your favorite jam.
It also pairs beautifully with a cup of tea or freshly brewed coffee.
Try Whole Wheat Flour
If you prefer a heartier loaf, replace part of the white flour with whole wheat flour.
Doing so adds more fiber, a richer flavor, and a slightly denser texture.
However, beginners usually get the best results by replacing only part of the white flour instead of all of it.
This approach helps the bread remain soft while introducing the benefits of whole grains.
Add Garlic for More Flavor
Garlic is another simple way to customize homemade bread.
Mix roasted garlic or garlic powder into the dough before baking for a rich, savory flavor.
For even more taste, brush the finished loaf with melted butter and sprinkle it with chopped parsley while it’s still warm.
This variation pairs wonderfully with:
- Spaghetti
- Lasagna
- Grilled meats
- Stews
- Creamy pasta dishes
Make Every Loaf Your Own
One of the greatest joys of baking at home is having the freedom to experiment.
Some days you might enjoy a classic white loaf, while other times you may prefer bread filled with herbs, cheese, seeds, or dried fruit.
There isn’t a single “right” way to customize homemade bread.
Instead, start with small changes and discover which combinations your family enjoys most.
Before long, you’ll have a few favorite variations—and perhaps even a signature loaf that’s requested again and again.
That’s the beauty of homemade baking: every loaf is unique, and every baking session helps you grow as a home baker.
What to Serve with Fresh Homemade Bread
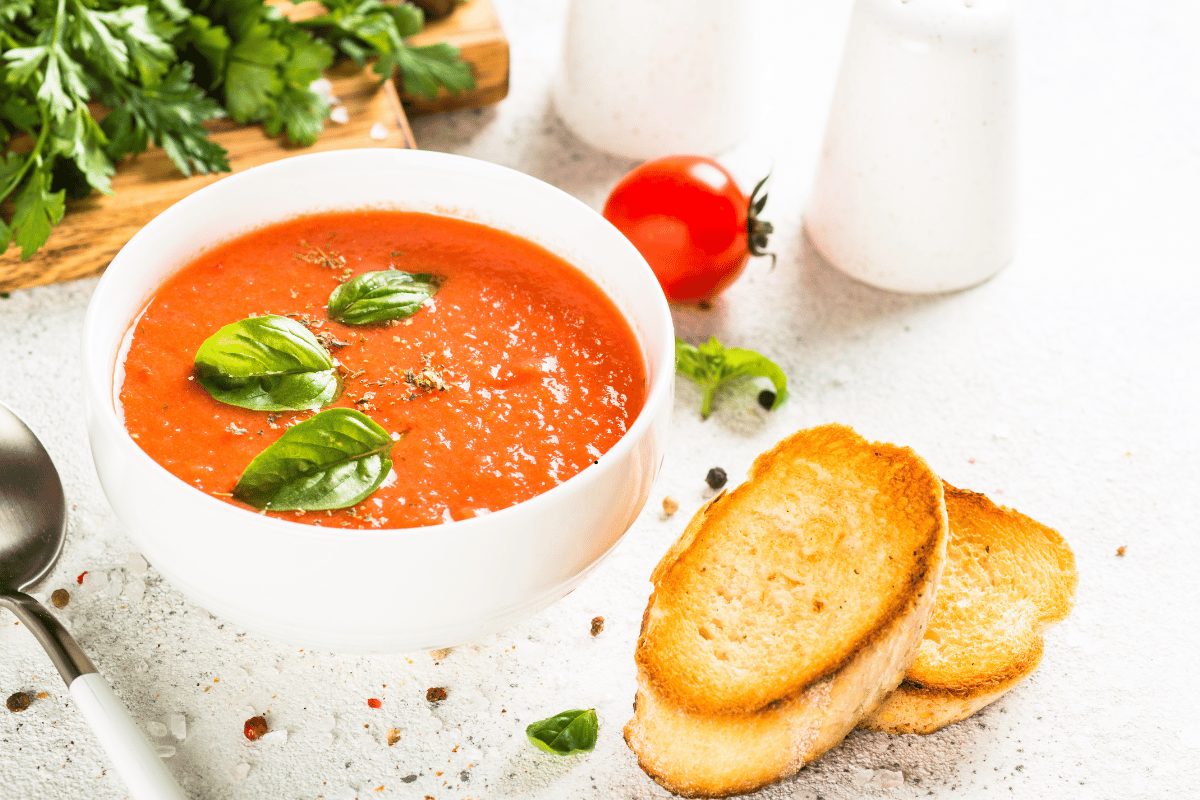
Fresh homemade bread is delicious on its own, but pairing it with the right foods can turn a simple loaf into a satisfying meal.
One reason I enjoy baking bread so much is its versatility.
Whether you’re preparing breakfast, lunch, dinner, or a quick snack, there’s always a perfect way to enjoy a fresh slice.
Fresh homemade bread is perfect for dipping into these fall soup recipes, making every meal even more comforting.
It also pairs wonderfully with this easy homemade meatloaf recipe for a classic family dinner.
One advantage of easy homemade bread recipes for beginners is how versatile fresh bread can be.
Spread It with Butter and Jam
Sometimes the simplest combinations are the most satisfying.
A warm slice of homemade bread topped with melting butter is hard to resist.
For extra flavor, add:
- Strawberry jam
- Honey
- Marmalade
- Peanut butter
- Fruit preserves
If you prefer a little crunch, lightly toast the bread before adding your favorite spread.
Pair It with Soup
Homemade bread and soup are a timeless combination.
The soft interior is perfect for soaking up flavorful broth, making every bite even more comforting.
It pairs wonderfully with:
- Tomato soup
- Chicken noodle soup
- Vegetable soup
- Potato soup
- Creamy mushroom soup
This simple combination is especially comforting during colder months.
Make Delicious Sandwiches
Because homemade bread is soft and fresh, it makes excellent sandwich bread.
Use it to prepare:
- Chicken sandwiches
- Turkey sandwiches
- Egg sandwiches
- Ham and cheese sandwiches
- Fresh vegetable sandwiches
You can also toast it to make grilled cheese sandwiches or crispy paninis.
Serve It with Pasta
Fresh bread is the perfect side dish for many pasta meals.
Use it to soak up leftover pasta sauce so none goes to waste.
It complements dishes like:
- Spaghetti
- Lasagna
- Fettuccine Alfredo
- Baked ziti
- Macaroni and cheese
A simple homemade loaf can make an ordinary pasta dinner feel even more special.
Enjoy It with Salads
If you’re looking for a lighter meal, serve homemade bread alongside a fresh salad.
Good options include:
- Garden salad
- Caesar salad
- Greek salad
- Chicken salad
You can also cube leftover bread, toast it with olive oil and herbs, and make homemade croutons for added crunch.
Turn Leftovers into Something New
Don’t let leftover bread go to waste.
Even if it becomes slightly stale after a few days, there are plenty of delicious ways to use it.
For example, you can make:
- French toast
- Bread pudding
- Homemade breadcrumbs
- Crispy croutons
- Stuffing
These ideas help reduce food waste while giving your homemade bread a second life.
Homemade Bread Brings People Together
Freshly baked bread has a special way of bringing family and friends together around the table.
Whether it’s served with a hearty dinner, enjoyed as a quick breakfast, or transformed into another recipe the next day, every slice reminds us that the simplest foods are often the most memorable.
Homemade bread isn’t just something you bake—it’s something you share, enjoy, and create lasting memories around.
Ready to Bake Your First Loaf?
Baking homemade bread may seem intimidating at first, but every skilled baker started with a single loaf. Don’t worry if your first attempt isn’t picture-perfect. The most important thing is to enjoy the process, learn from each bake, and have fun creating something fresh and delicious.
With practice, you’ll become more confident working with dough, recognizing when it’s ready to bake, and experimenting with new flavors. Before long, baking homemade bread will become one of your favorite kitchen traditions.
If you love baking from scratch, don’t miss these simple homemade desserts perfect for beginners for more easy recipes to try at home.
If you try this recipe, I’d love to hear how it turned out! Did you keep it classic, or did you add herbs, cheese, seeds, or another favorite ingredient? Share your experience in the comments below—your tips might inspire another beginner to start baking.
If you found this guide helpful, please share it with your friends and family who enjoy homemade baking. You can also explore more easy recipes, baking inspiration, and practical kitchen tips here on AmyBen Kitchen to make every meal a little more enjoyable.
Happy baking, and may every loaf bring warmth, comfort, and delicious memories to your table
Amity Nwoye is the creator of amybenblog, where she shares easy recipes, practical cooking tips, meal planning ideas, and money-saving kitchen hacks. She is passionate about helping home cooks prepare delicious meals with confidence, whether they’re beginners or experienced in the kitchen. Through simple, family-friendly advice, Amity makes cooking more enjoyable, affordable, and stress-free.